NOTE: This full tutorial has been moved to my new blog at http://www.otakuandfit.com/stealth-iron-man-mk-vi-cosplay-made-w-fiberglass-and-foam-tutorial/
Stage 8 – Servos and hinges
Materials I used for this stage:

Batteries + switch + microcontroller
- Small servos from hobby shop
- Push rods
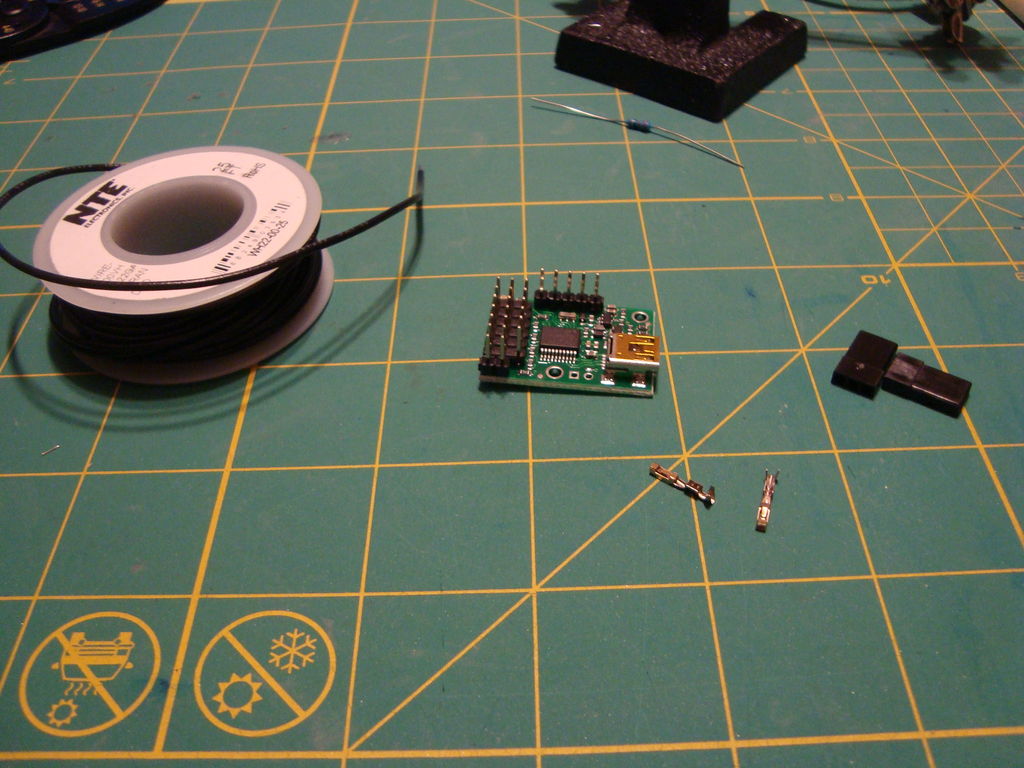
- Pololu Micro Maestro 6 microcontroller + Users guide
Pololu 6 Channel Microcontroller
- Wire
- 100 ohm resistor
- Soldering Iron
- USB cable
- 2 x 6v rechargeable batteries
- Chicago Screws
- Sintra
- Hi temp hot glue
- Apoxie Sculpt
Steps:
- I purchased hinge plans and installation guide from another Iron Man maker to save me the time of designing hinges, although there are a lot of other good sources on the hinge topic out there
- I made the hinges out of sintra. I cut them to shape then sanded down the rough edges.
- I glued Chicago screws into place for the hinges, and then used Apoxie Sculpt to fixate them in place. I sanded down the excess as well.
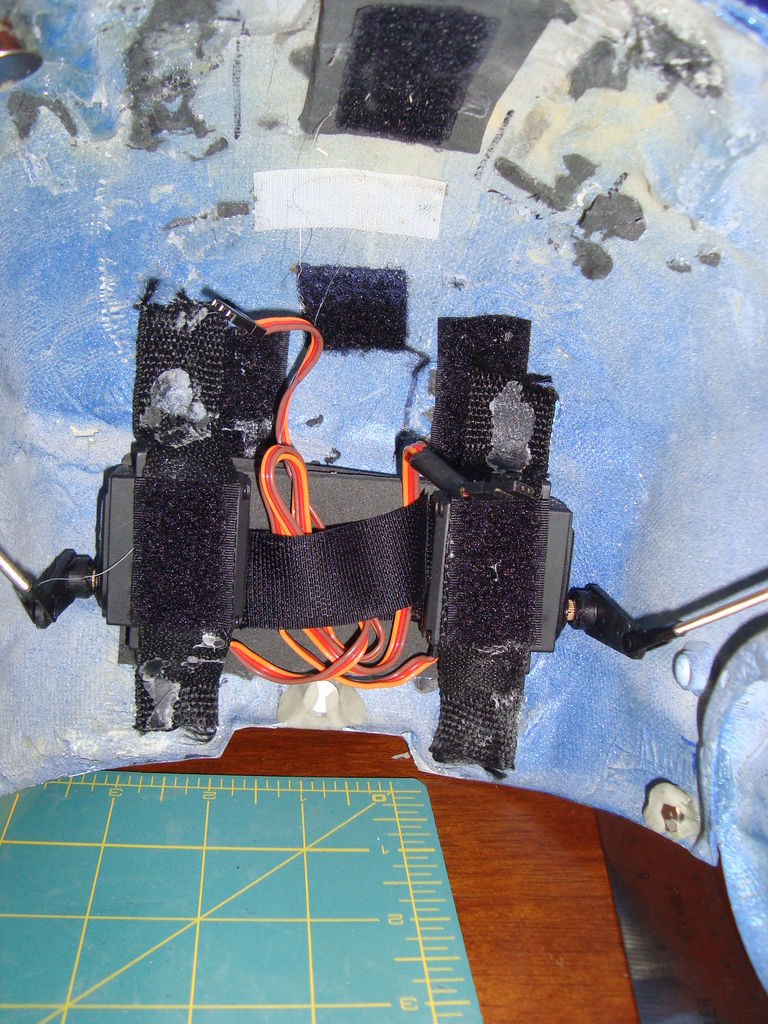
- One I had smooth movement of my faceplate, I began the installation of 2 servos in the helmet. I experimented with different positions of the servos, but ultimately the initial suggestion of having the servos in the back of the helmet became the best working. I hot glued them which seemed to hold fine.
Servos mounted in helmet
- I then measured and cut down pushrods to connect the servos to the hinges. I manually tested the motion in order to determine that the placement was satisfactory
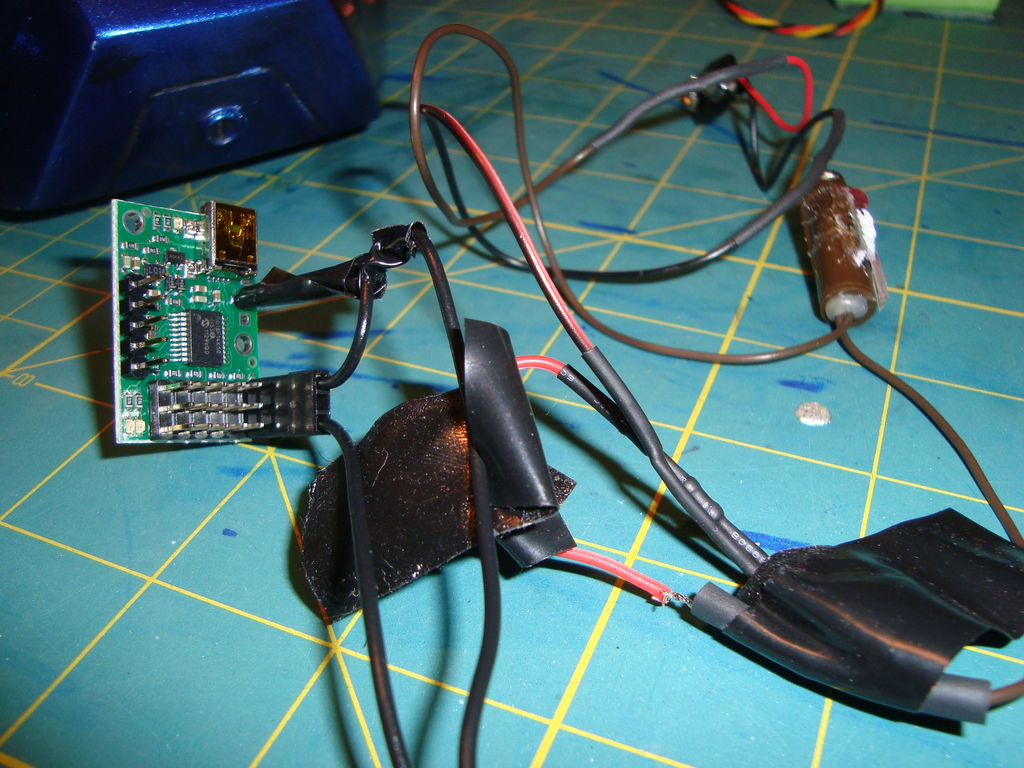
- I then followed the manual for the Micro Maestro microcontroller in order to wire a button to one of the chip’s channels. This will be the button that activates the servos
- I followed the example script in the manual in order to have a push of the button activate servo movement. Once understanding single servo movement, I modified the script to move both servos
Micracontroller with wiring
- After having both servos in motion, I carefully modified the script in order to obtain the proper servo movement for my helmet. I noticed there was a point where the servos would rotate the hinges too far, thus warping the helmet. Once I reached that point, I returned it to a point where it would not warp.
Here’s a short video of servo action on my second helmet using the same method as the above:
—
No comments:
Post a Comment