NOTE: This full tutorial has been moved to my new blog at http://www.otakuandfit.com/stealth-iron-man-mk-vi-cosplay-made-w-fiberglass-and-foam-tutorial/
Stage 3 – Shaping with Body Filler
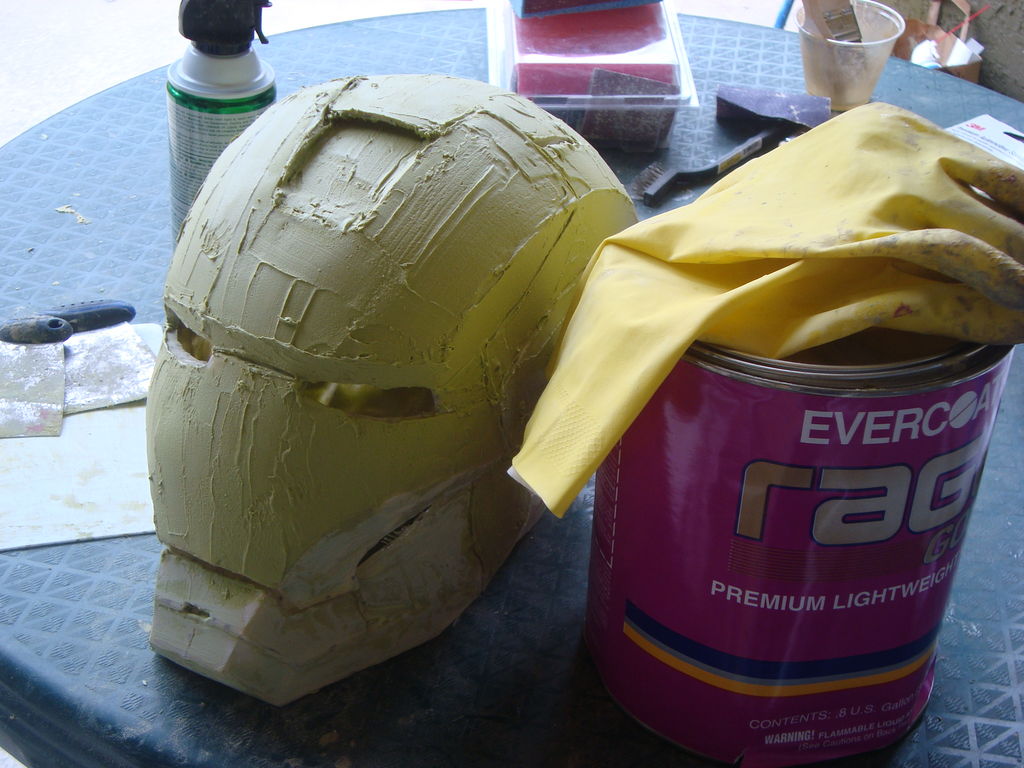
Automotive Body Filler on Fiberglassed Helmet
Materials I used for this stage:
- Rage Gold body filler
- U-Pol onion board
- Bondo body filler spreaders
- Bondo spot putty
- Soft Sanders sanding blocks
- Needle files
- Sand paper (60 grit, 120 grit, 220 grit, 400 grit)
- Flat (matte) black spray paint
- Automotive primer spray cans
- PATIENCE
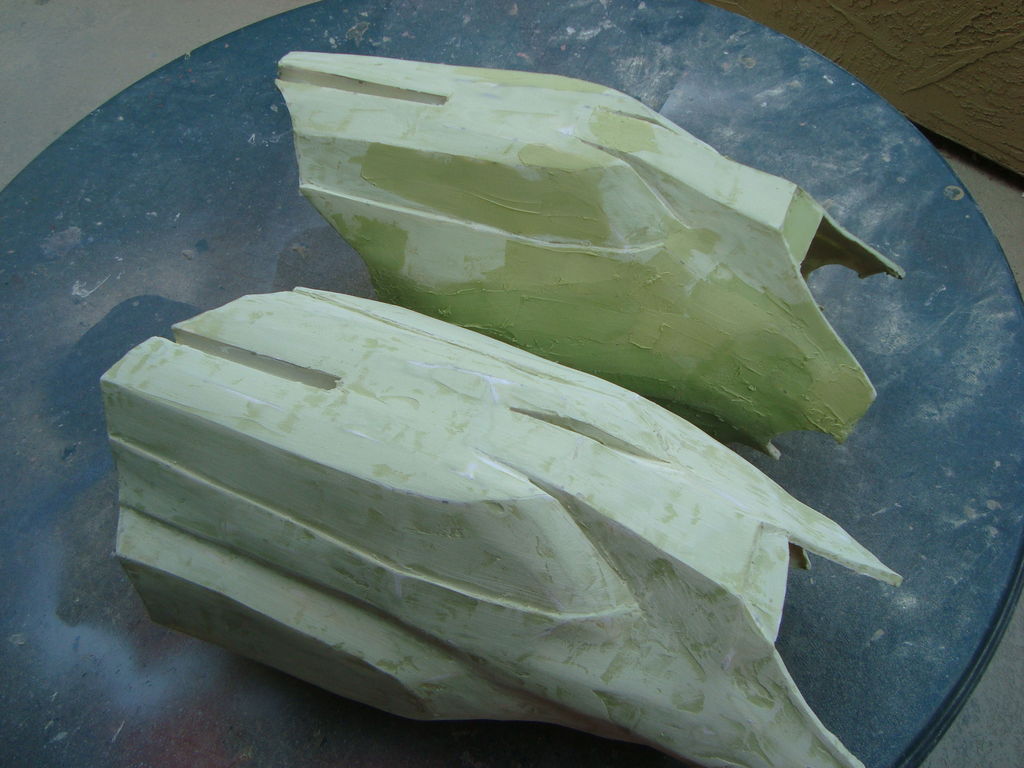
When the fiberglass stage is complete, you will have a strong piece but still geometric looking. Below is the basic process in a nutshell of how I shaped each piece and gave it more roundness.
Steps:
- Apply body filler
- Apply matte black spray paint dust coat (basically you spray your piece lightly with black paint as a guide coat when you sand… while your sanding, you’ll know where your low spots are as they will be dark)
- 60 grit sanding
- Repeat 1-3 until shape is appropriate (I took careful attention to add body filler to the low spots first which will be obvious because of the matt black dust coat)
Dark spots are portions that need sanding or more filler
- Dust coat
- 180 grit sanding (this will smooth out the scratch marks from the 60 grit)
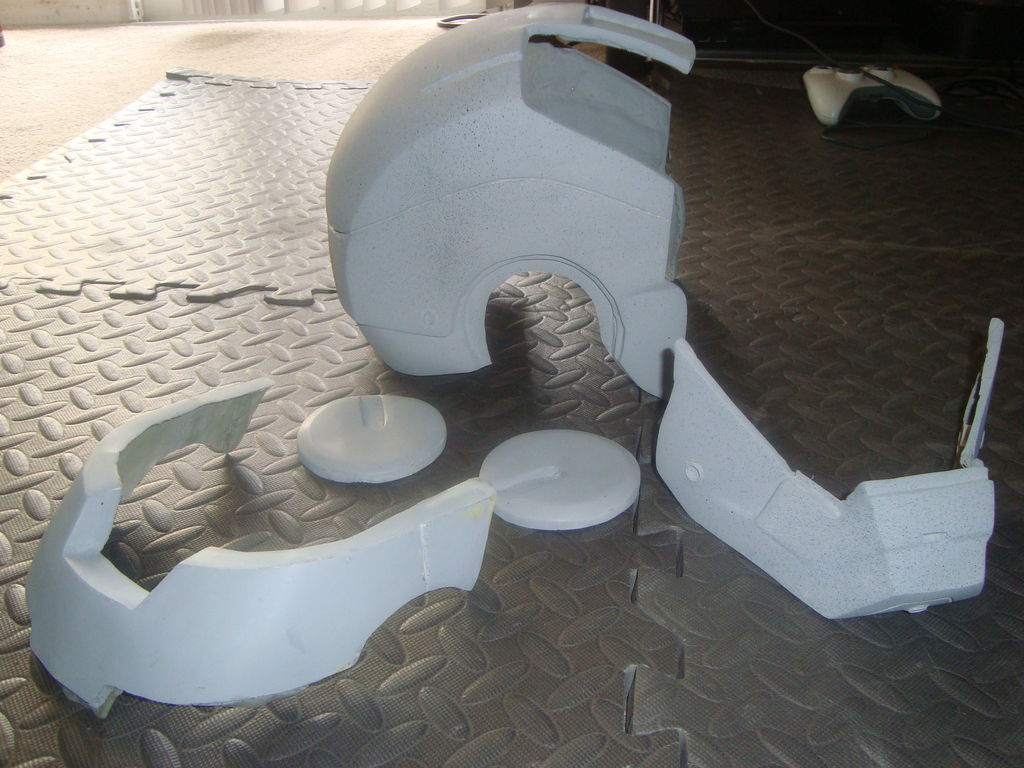
- Filler Primer (This will fill minor scratches and reveal further imperfections)
Primed Helmet – Light Black Specks are from dust coat
- Added detail lines with a needle file. These are lines that are not a part of the original 3D model that need to be etched in
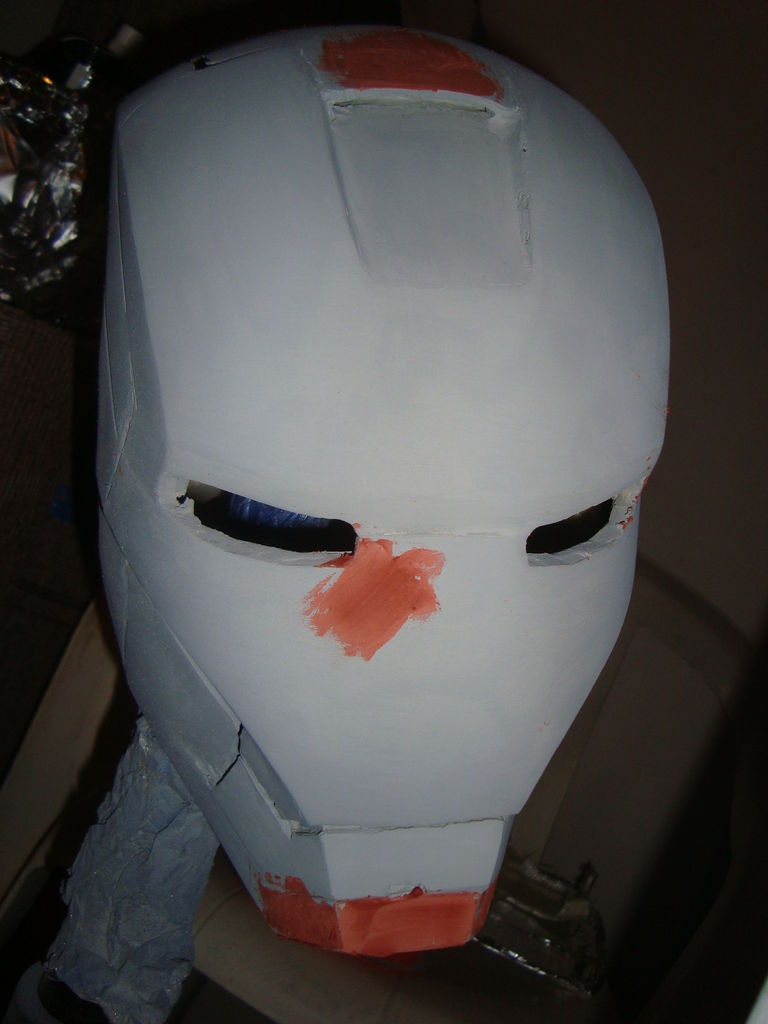
- Use bondo spot putty to fill small imperfections on shape
Red spot putty on imperfections
- Dust coat
- 220 grit sanding
- Reprime to remove scratches
- Light Dust coat
- 400 wet sand
——–
No comments:
Post a Comment