NOTE: This full tutorial has been moved to my new blog at http://www.otakuandfit.com/stealth-iron-man-mk-vi-cosplay-made-w-fiberglass-and-foam-tutorial/
Stage 4 – Painting and weathering stage
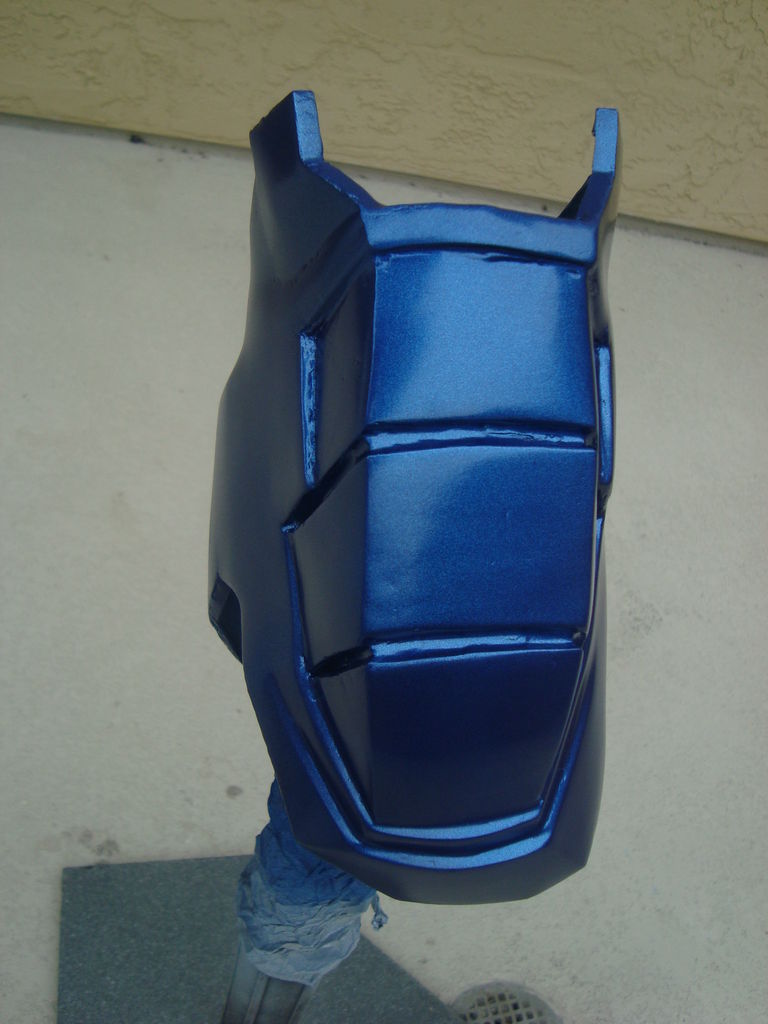
Painted bicep – No clear coat
Materials I used:
- Automotive spray paint
- Automotive clear coat
- Detail paint brushes
- Black acrylic paint
- Rub N Buff pewter
Steps:
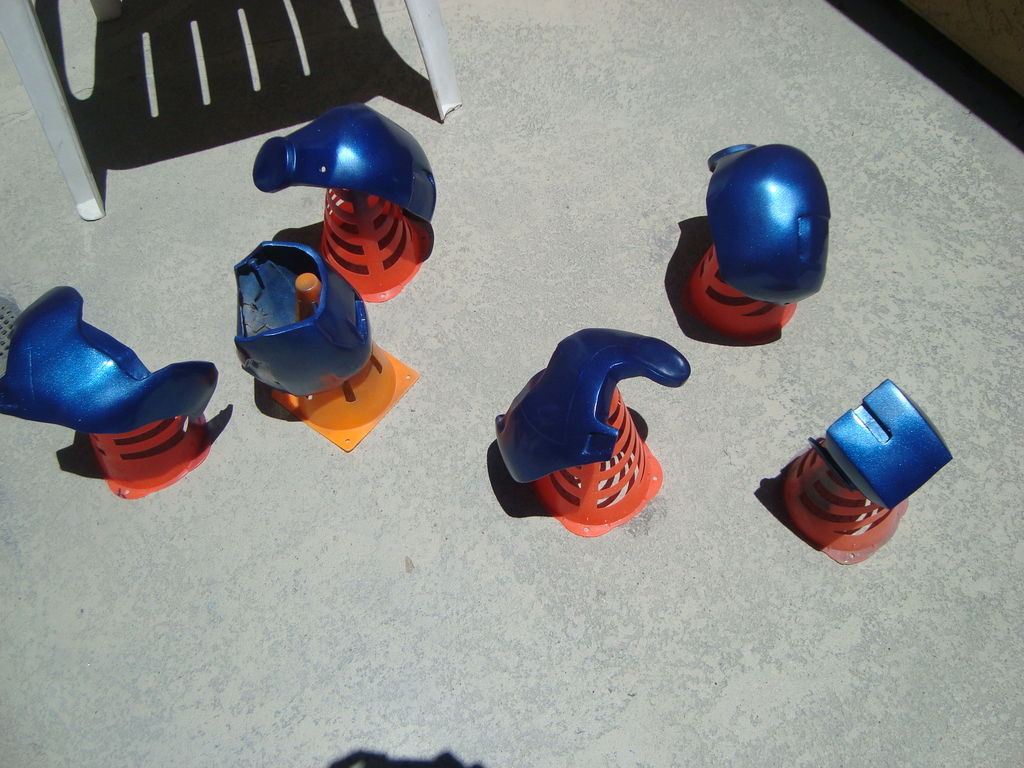
- After each piece was primed and wet sanded with 400 grit, the piece is ready to paint
- I applied 3 cost of spray paint, 10 minutes between coats
Watching the paint dry
- 30 minutes after the last coat of colored paint, I applied 3 coats of automotive clear to protect the paint and give it some extra shine
- The next day, I used a small detail brush and acrylic black paint to “dirty” up the armor. I would apply the acrylic paint, then wipe off the excess with a wet rag.
- The last part to give a damaged look is applying some Rub N Buff with a small detail brush and carefully rubbing off the excess to give a scratched metal effect
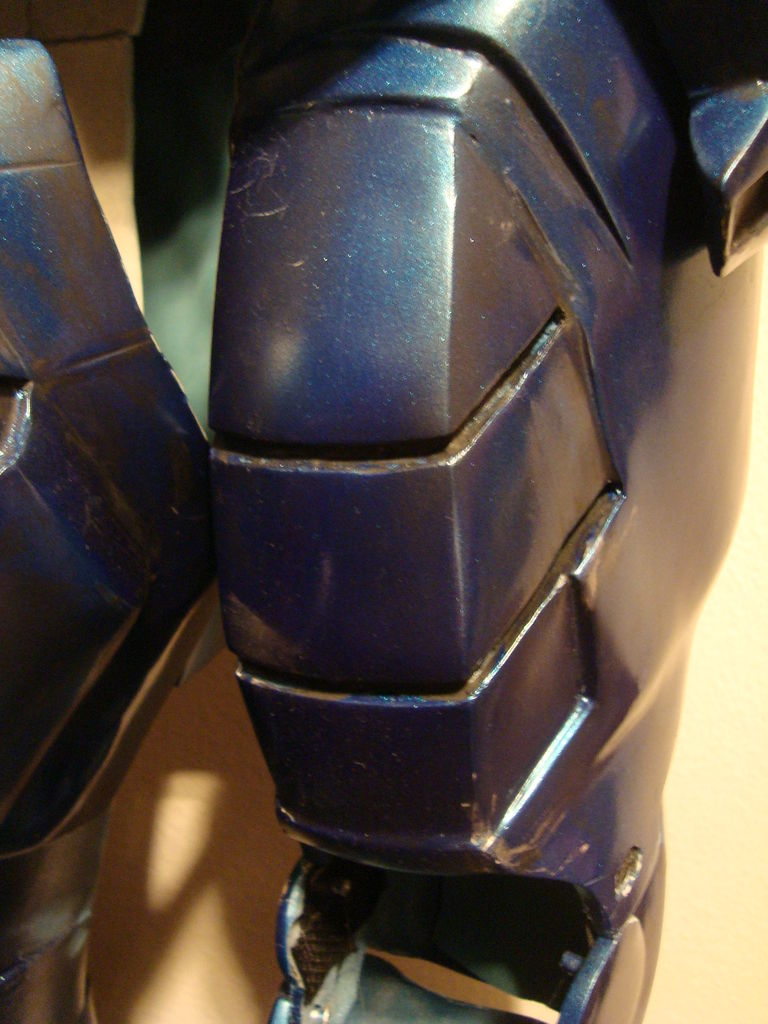
Scuff marks (Rub N Buff) and black “dirt” (acrylic paint) applied
—
No comments:
Post a Comment