NOTE: This full tutorial has been moved to my new blog at http://www.otakuandfit.com/stealth-iron-man-mk-vi-cosplay-made-w-fiberglass-and-foam-tutorial/
Stage 5 – Flexible Pieces
Foam abs and obliques
Materials I used:
- EVA foam
- Exacto knife
- Exacto board cutter (for angled cuts)
- Modpodge
- Plastidip
- Automotive Adhesion promoter
- Automotive spray paint
- Krylon Low Oder Clear Finish (gloss)
- Chip brush
Steps:
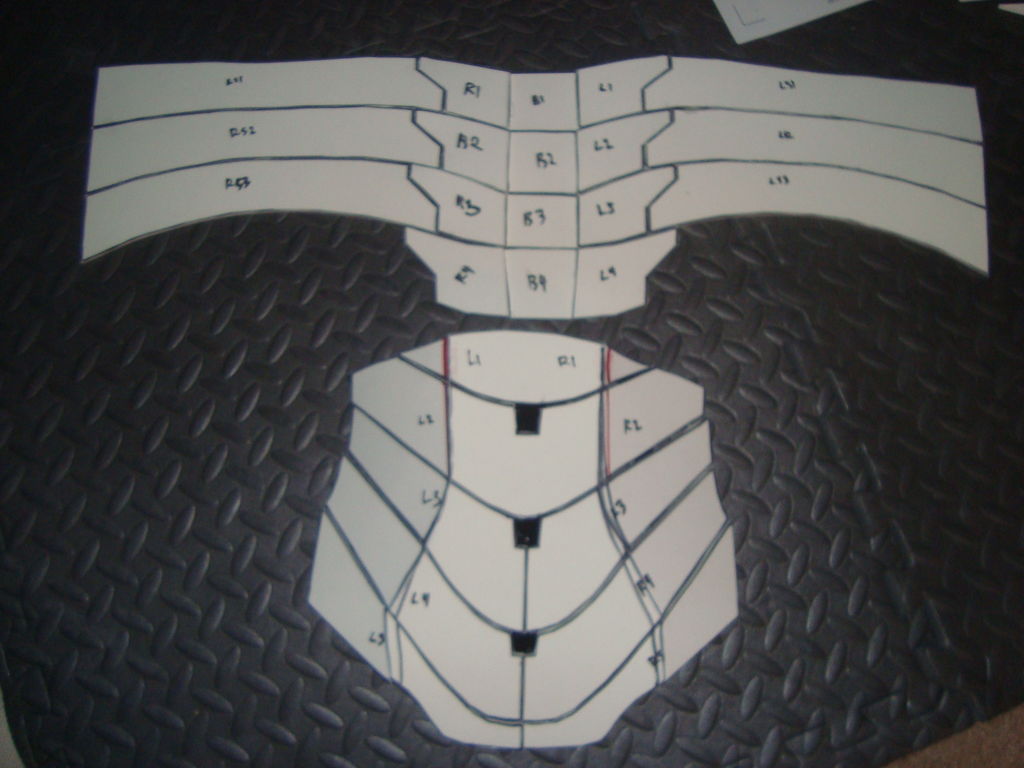
- I used form for pieces that I felt would need more flexibility. I used the foam method for the hands, abs, neck, and codpiece.
- You can google foam templates for various pieces which you will print and cut with Pepakura Viewer.
- Once I printed and cut the template, I traced onto my foam pieces.
- Using references pictures of the part I was trying to build, I varied the angle of cuts in order to get the appropriate shape for when the piece is glued together.
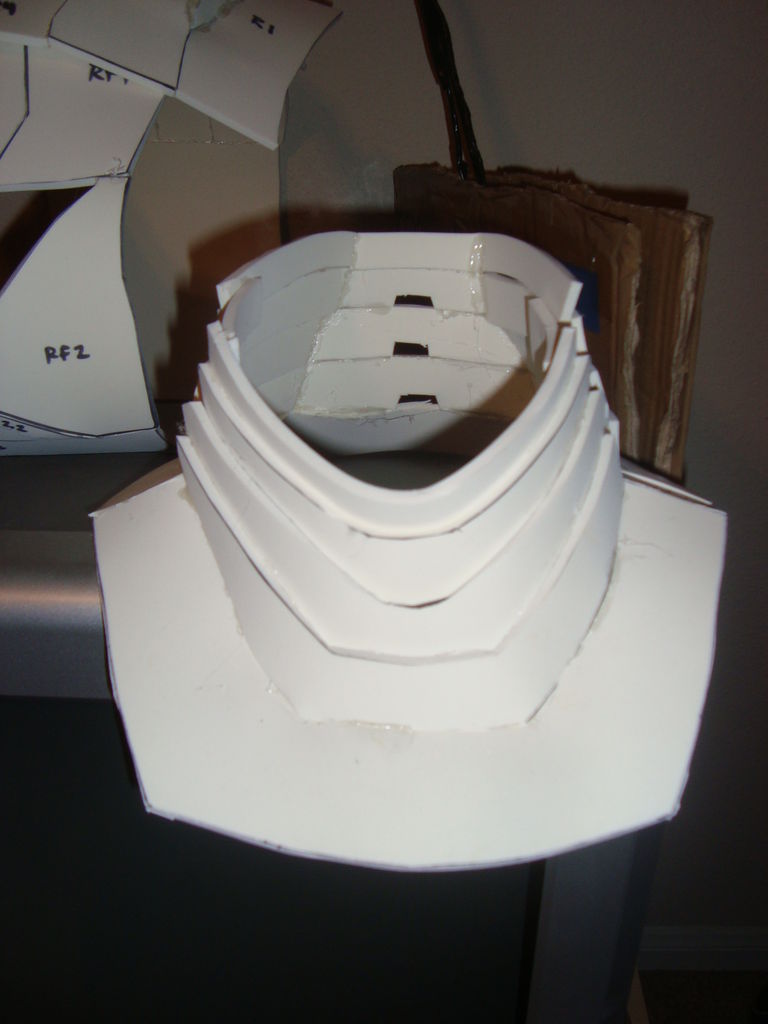
Foam Neck
- Once the flexible pieces were build, I sealed the foam with a layer of modpodge, then 3 coats of black plastidip
- Automotive adhesion promoter was then applied in 3 coats, then the sprayed with color within10 minutes of the promoter drying
Foam Torso Painted
- After the color paint was dry, I used the Krylon gloss to give the pieces some shine
- I then weathered the pieces as previously described
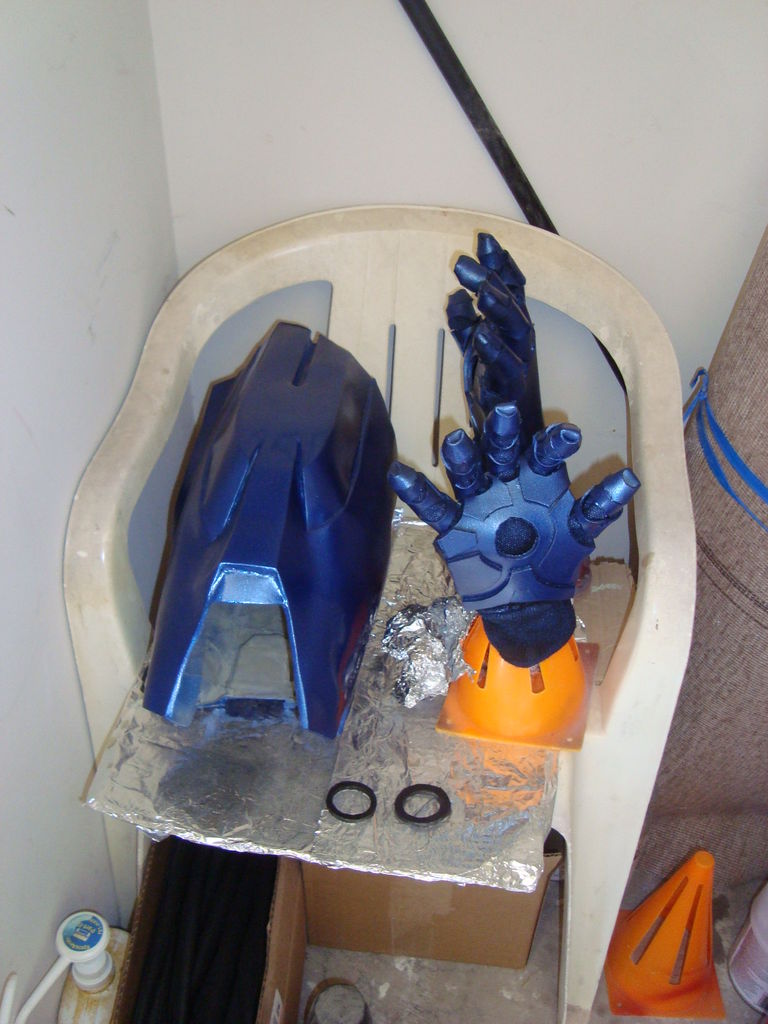
Comparison
Thigh – Fiberglass
Gauntless – Foam

—
No comments:
Post a Comment